

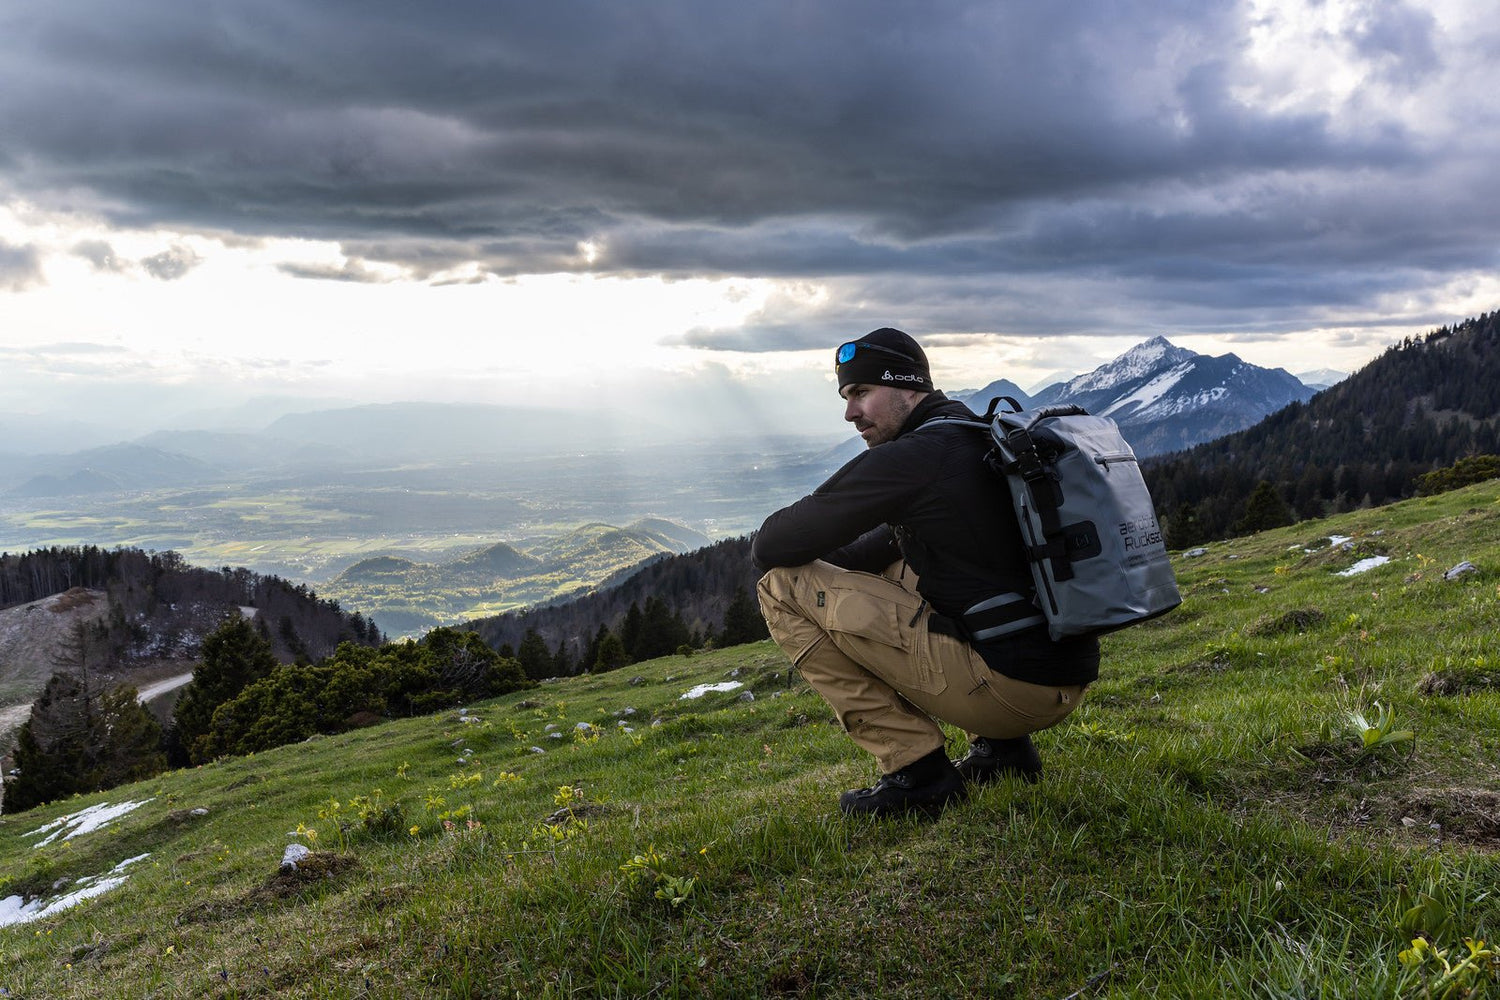
If you want a workout that burns more calories than a normal walk, builds real strength, and is easy on your joints, rucking for weight loss is one of the most underrated tools you can add to your routine. All you do is walk with extra weight on your back - and the results go far beyond a regular stroll. In this guide, you will learn what rucking actually is, how much weight to start with, and how to build it into a realistic plan that fits your week.
What Is Rucking, Exactly?
Rucking simply means walking with a loaded rucksack. The word comes from the military "rucksack," and soldiers have used loaded marches for endurance training for generations. You do not need a military background to benefit from it though. Add a few kilograms to a rucksack, head outside (or hop on a treadmill), and you are rucking.
What makes it interesting is the combination of cardio and strength in a single, low-skill movement. You are still just walking, so there is nearly no learning curve, but your heart rate climbs, your legs, core, and back work harder, and your posture has to stay upright to carry the load efficiently.

Why Rucking for Weight Loss Beats a Regular Walk
A normal walk is great for your health, but adding load changes the equation. Research on loaded walking and military load carriage shows that energy expenditure rises noticeably once you add weight relative to your body mass, and the effect is not linear: the heavier the load, the more your body has to work per step (Knapik et al., soldier load carriage research). More recent modeling work on heavy backpacking confirms that carrying weight substantially increases the metabolic cost of walking compared to moving unloaded (metabolic cost modeling of loaded backpacking).
In practical terms, this means a 45-minute walk with a loaded rucksack can burn meaningfully more calories than the same walk without weight, all while keeping the impact on your knees and hips far lower than running (Healthline overview of rucking). That is exactly why rucking for weight loss has become popular with people who want the calorie burn of cardio without the pounding of jogging.
On top of the calorie burn, carrying a load engages your core, glutes, upper back, and grip in a way that pure walking does not. You are training your cardiovascular system and your muscular endurance at the same time, which is a rare combination in a single session.
There is also a pacing benefit. Loaded walking naturally keeps most people in an aerobic, "Zone 2" heart rate range rather than pushing into an all-out sprint. That intensity is exactly the range associated with better metabolic health and long-term endurance, and it is far easier to sustain three or four times a week than high-intensity intervals, especially if you are new to structured training.
How Much Weight Should You Carry?
This is where most beginners get it wrong, either by loading up too fast or by never progressing at all. A simple, well-supported approach is to base your load on a percentage of your body weight (Art of Manliness guide to rucking):
- Complete beginners: start with around 5 % to 10 % of your body weight for your first two to three sessions.
- Some training background: progress to roughly 10 % to 15 % once the lighter load feels easy.
- Regular exercisers: 15 % to 20 % is a solid working range for longer sessions.
- Experienced ruckers: 20 % to 30 % can be used for shorter, strength-focused sessions.
As a concrete example, someone weighing 76 kg could start with about 5 kg to 8 kg, then work up toward 10 kg to 15 kg over a few weeks. Avoid pushing past 30 % of your body weight regularly - injury rates climb sharply beyond that point, which is also why it functions as the standard ceiling in military training programs.
A Simple 4-Week Rucking Plan
You do not need a complicated program to get started. Here is a beginner-friendly structure you can adapt to your own schedule:
- Week 1: two sessions of 20 to 30 minutes with a light load (around 5 % of body weight), flat terrain.
- Week 2: three sessions of 30 minutes, same load, add one hill or incline if possible.
- Week 3: increase the load slightly (around 8 % to 10 %), keep sessions at 30 to 40 minutes.
- Week 4: three to four sessions, mix in one longer walk (45 to 60 minutes) at a comfortable pace.
Change only one variable at a time: weight, distance, or pace. If your form breaks down (rounded shoulders, leaning too far forward, or a sore lower back), that is a sign to reduce the load before you add more.
It also helps to write your sessions down, even briefly: date, load, distance, and how you felt. After four weeks you will have a clear picture of your progress, and a simple log makes it much easier to decide when you are actually ready to add weight rather than guessing week to week.
Loading Your Rucksack: Sand, Steel Shots, Sandbag, or Kettlebell
The Fitness Rucksack is built specifically for load training: a large opening for fast loading and unloading, and a design that doubles as a normal backpack for hiking, commuting, or the office on days you are not training. You'll find it alongside the rest of our load-training gear in the Weights collection.
How you load it is up to you. Our sand and steel shot bags let you fine-tune the weight in small steps, which is ideal while you are still finding your starting load. If you already own a Sandbag, it fits neatly inside the main compartment and lets you load up to 30 kg in one flexible unit, no separate loading bags needed. Prefer a firmer, more compact weight instead? A Kettlebell up to 25 kg sits low and central in the pack and will not shift around the way loose fill can.

Check out the full Weights collection to compare loading options side by side.
Staying Safe and Avoiding Injury
Rucking is low-impact, but it is not risk-free if you rush the process. A few practical tips:
- Keep the load centered on your back and close to your body rather than hanging low.
- Wear supportive, broken-in shoes - blisters are the most common complaint among new ruckers.
- Stand tall. A slight forward lean is normal under load, but avoid rounding your lower back.
- Increase weight or distance gradually; give your joints and connective tissue time to adapt, especially in the first month.
- Stay hydrated, particularly on longer or warmer sessions, since loaded walking raises your core temperature faster than an unloaded one.
Research on load carriage also shows that where you place the weight matters: keeping it high and close to your body's center of mass costs less energy and puts less strain on your gait than a load that sits low or swings during movement. That is one more reason a well-fitted rucksack, rather than a loose bag, makes a noticeable difference over time.
Getting Started
Rucking for weight loss works because it is simple, scalable, and sustainable. You do not need a gym, a complicated program, or hours of free time - just a loaded rucksack and a route you enjoy. Start light, build up gradually, and let the combination of cardio and strength work in your favor, one walk at a time.

Leave a comment
All comments are moderated before being published.
This site is protected by hCaptcha and the hCaptcha Privacy Policy and Terms of Service apply.